
How Wooden Boomerangs Are Made
By Nemunas Pakalnis
Published: · Last updated:
Our wooden returning boomerangs begin as pieces of Baltic birch plywood. We cut the outline, shape the wings and sand the wood by hand. Then we test-throw selected boomerangs from the batch, and after that we add the painted finish. The illustrations and photographs below show these five stages in making our two-arm boomerangs in Lithuania.
The shape needs careful work before the decoration begins. A successful return also depends on the throwing technique and wind conditions. Here is what goes into making the boomerang before it reaches the throwing field.
1. Cutting the boomerang shape
First, we cut the outline from a sheet of Baltic birch plywood with a jigsaw. This creates the two arms and the curve between them.
Accurate cutting gives us the starting shape for the next stage. At this point, the piece still needs its wing profiles formed and its surfaces smoothed.
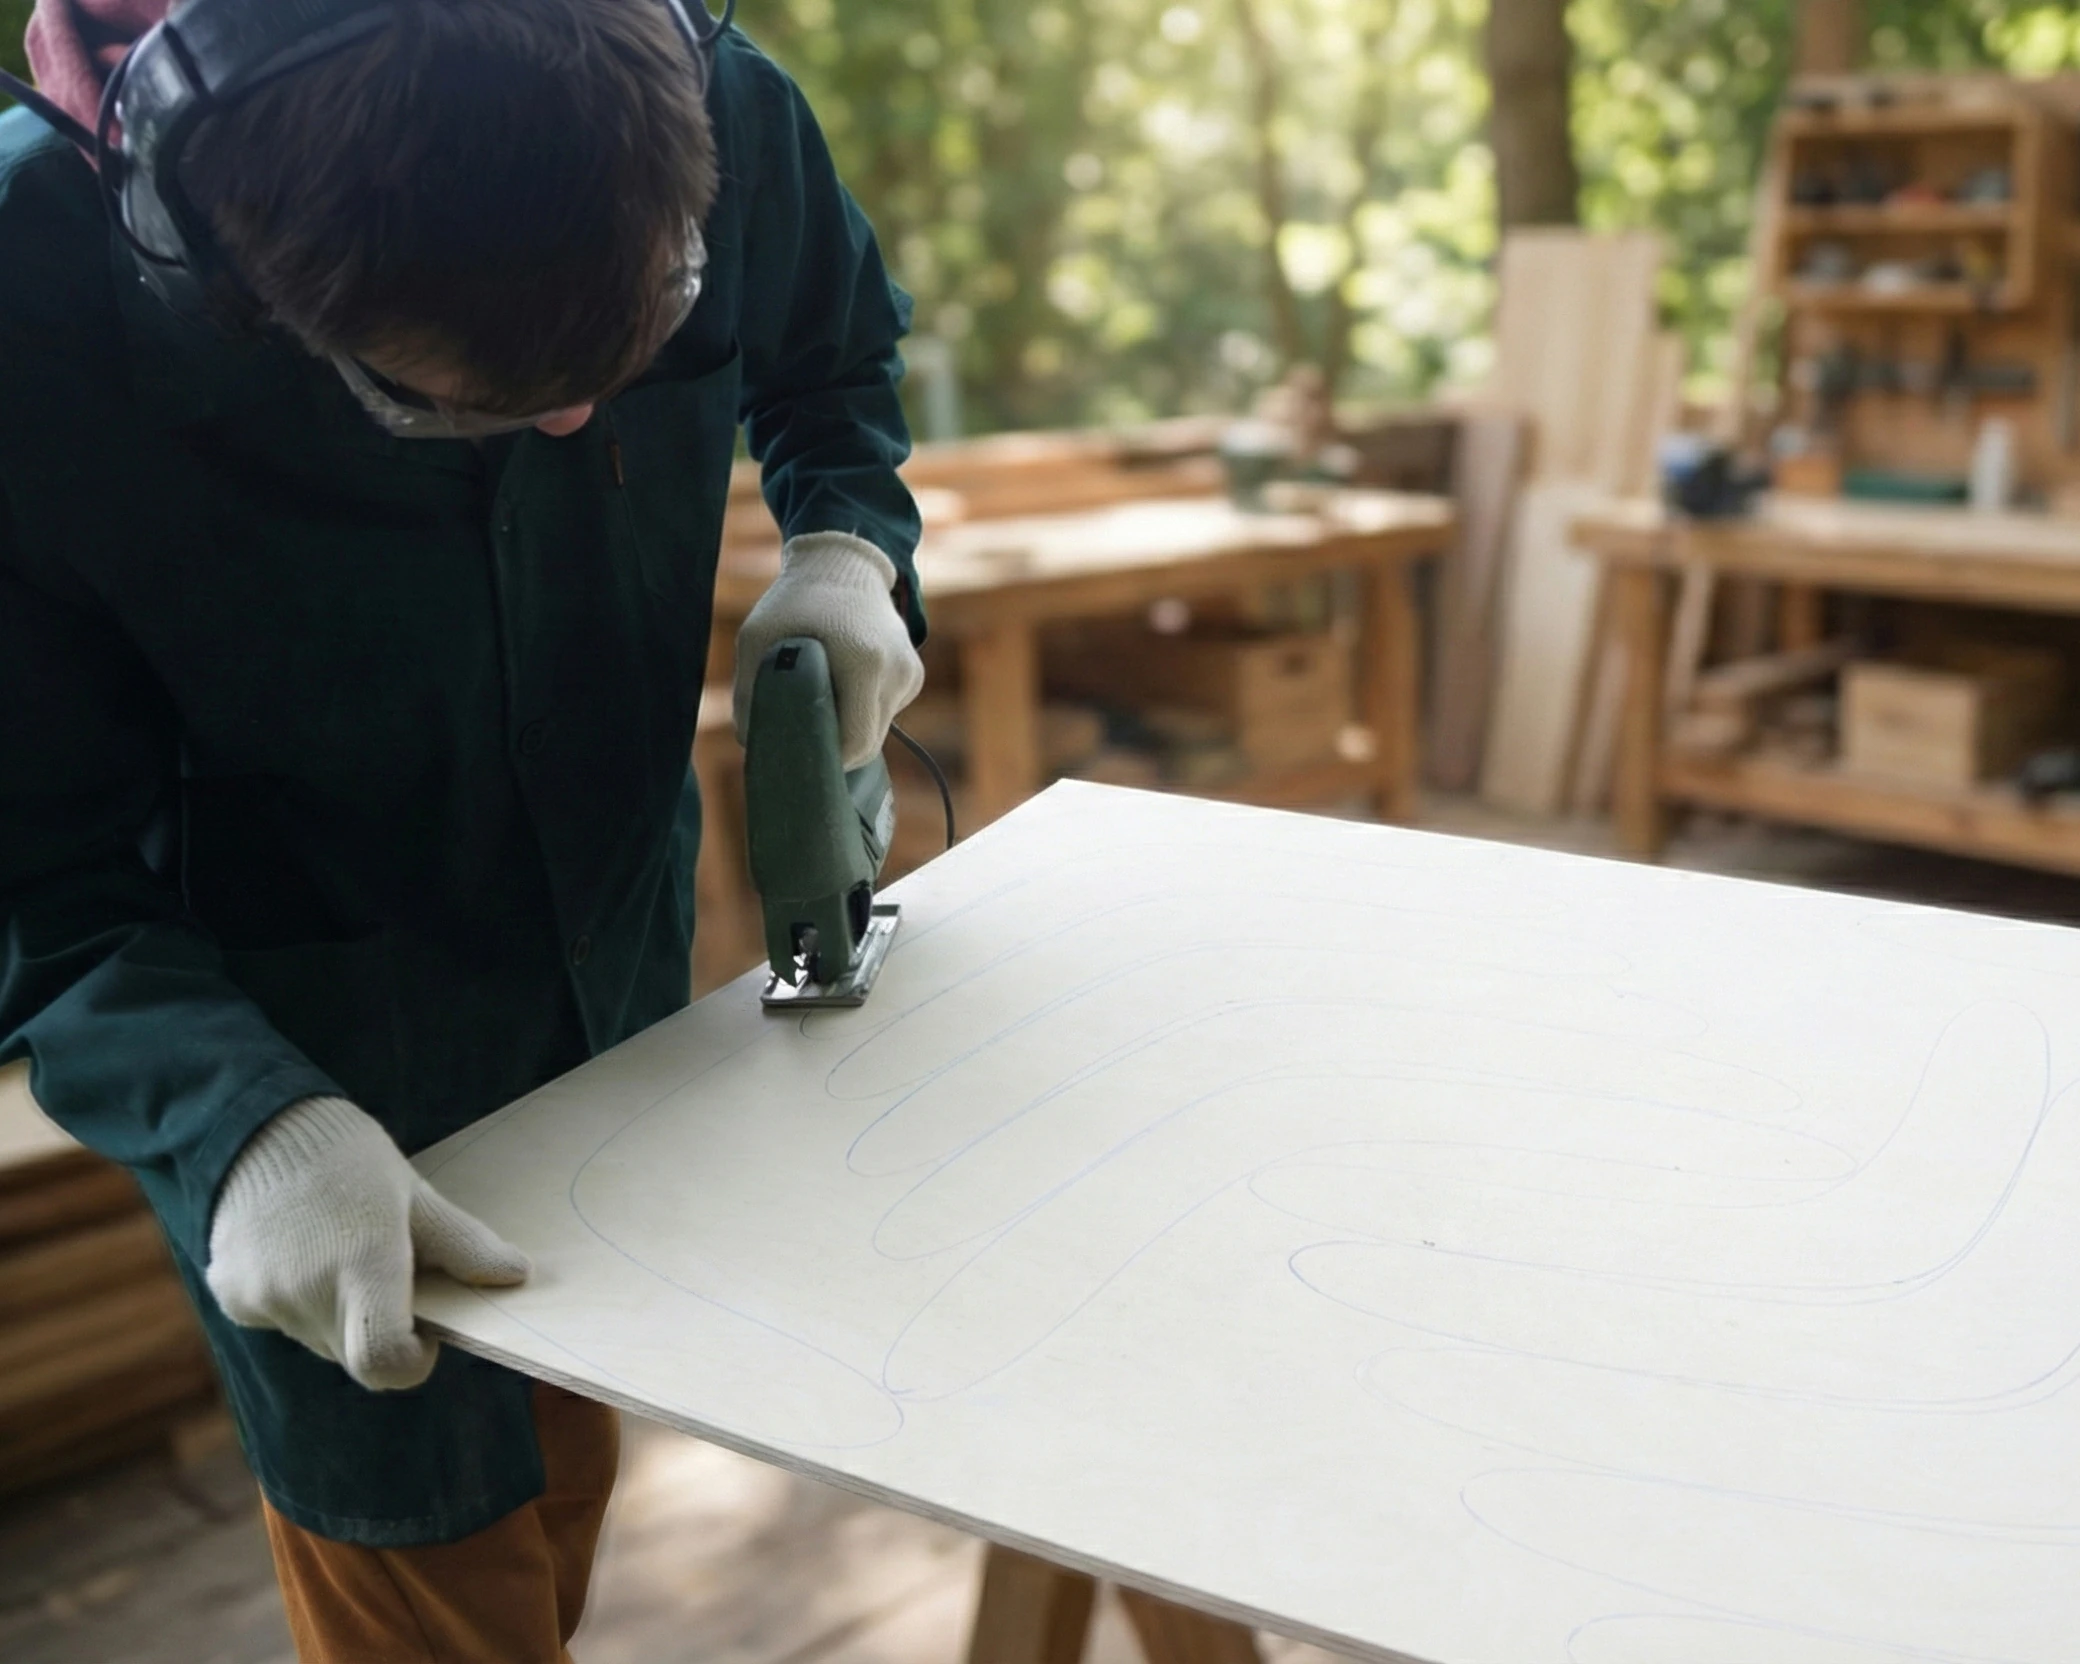
Illustration: Cutting the boomerang outline from plywood with a jigsaw.
2. Shaping the wings
Next comes rough sanding with powered tools. We remove wood to form the profile of the wings: the shape you would see if you looked across their thickness.
This is one of the most demanding parts of the process. The outline and wing profiles affect how air flows around the boomerang, so this stage needs patience and control.
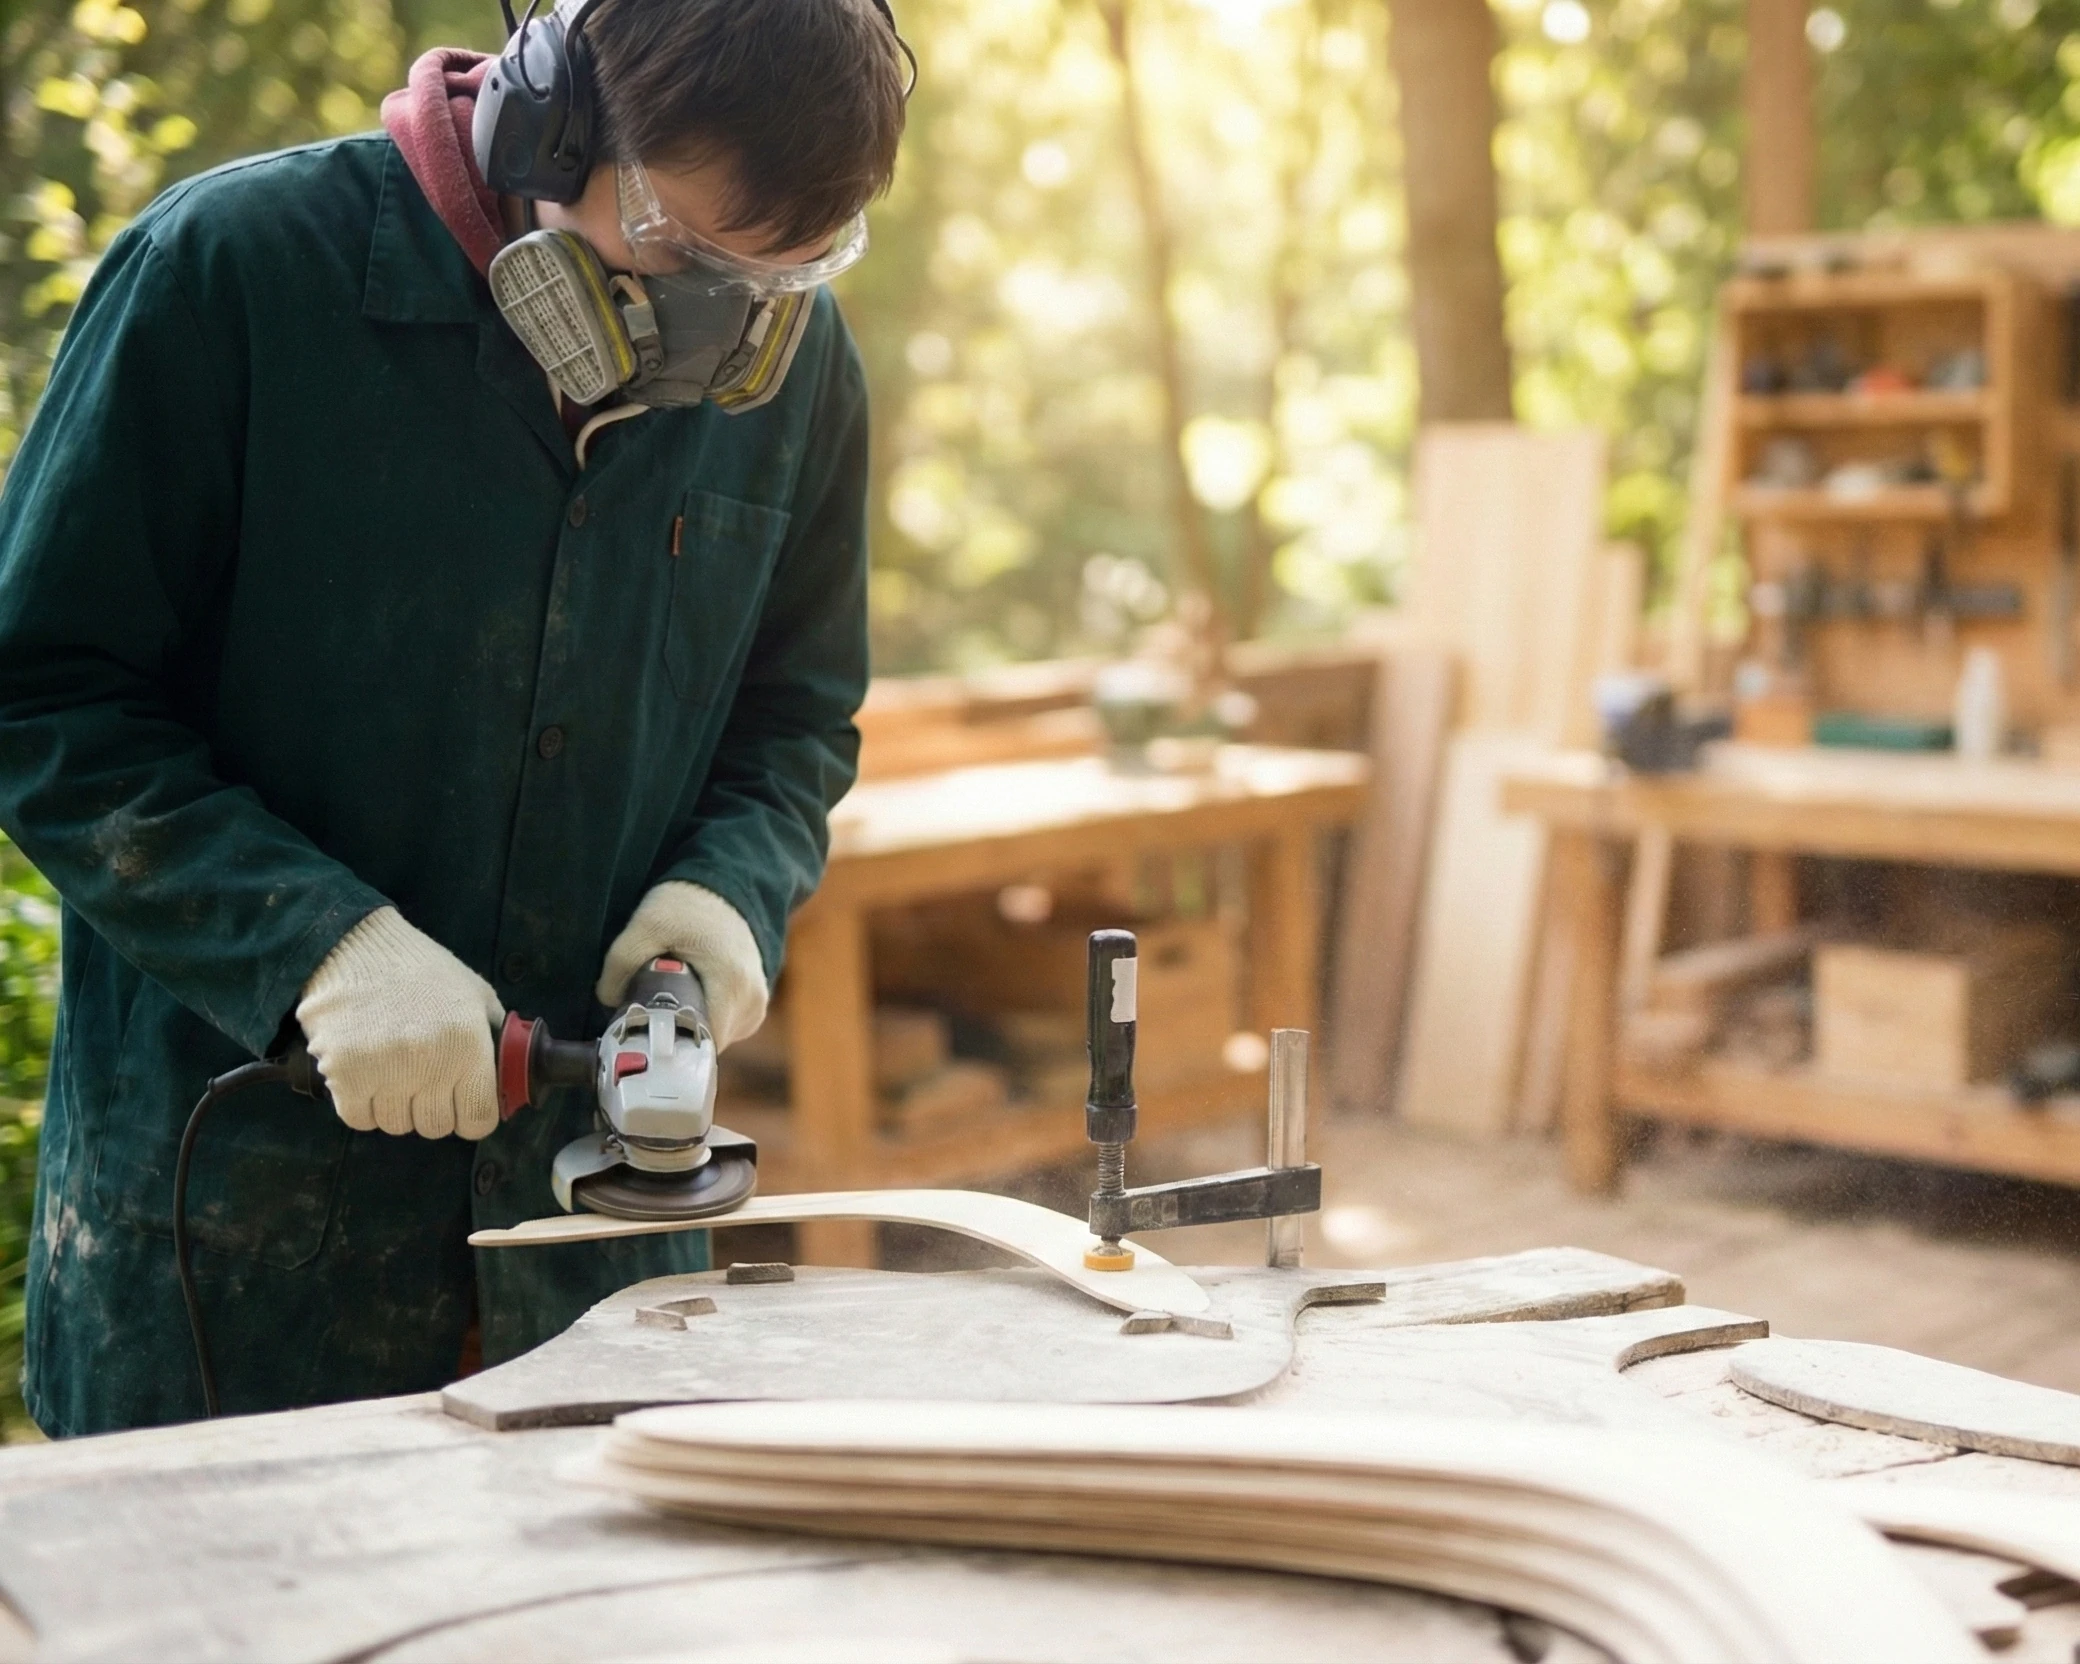
Illustration: Shaping the wooden boomerang with a powered sanding tool.
3. Sanding the wood by hand
Once the main shaping is complete, we continue by hand with a sanding sponge. This smooths the surface and prepares the wood for painting and varnishing.
Hand sanding takes time, especially around the curves. It is a quieter part of the work, with attention on the surface that will later carry the painted design.
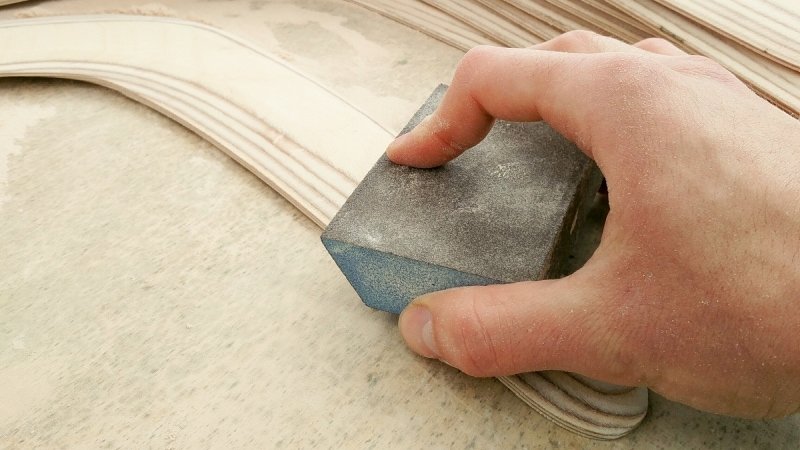
Smoothing the shaped boomerang by hand with a sanding sponge.
4. Testing the flight
Before painting, we take selected boomerangs from the batch outside for a flight test. For me, this is the most enjoyable part: seeing a new boomerang in the air after the cutting, shaping and sanding.
We test in open space. A clear throwing area and suitable wind conditions matter, just as they do when you practise with your own boomerang. Keep people and animals outside the flight area and follow the instructions for your model.

Preparing for an outdoor flight test by the lakeshore.
5. Painting and varnishing
We use different painting techniques to decorate the boomerangs. My wife is one of the artists who helps with this part of the work.
The photograph shows dots being applied with a wooden stick. Each small mark becomes part of the finished pattern. After painting, varnish provides a protective finish over the decorated wood.
The finish still needs care during use. Our wooden boomerang care guide explains cleaning, drying and checking for damage.

Applying the painted dot pattern with a wooden stick.
From the workshop to your first throw
You can browse our wooden boomerangs to compare the finished designs. Before your first practice, read our boomerang throwing guide for technique and safety instructions.

